By Harisha Pattela
To install and configure BI Composer for Oracle BI EE, use the following steps as a guide:
Step 1
Extend a Web Logic Server domain & to install BI Composer runtime implementation shared libraries:
- Stop the Web Logic Server.
- Launch the Configuration Wizard.
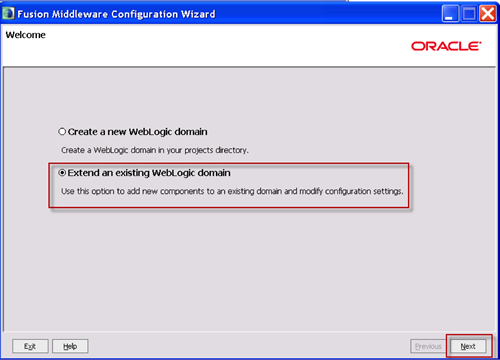
- Select Extend an existing Weblogic domain, and then click Next.
- Select the domain folder (for example, <mw_home>/user_projects/domains/bifoundation_domain), and then click Next.
Step 2
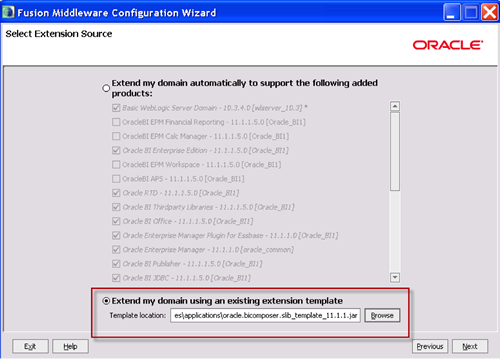
Select Extend using extension template, and then use Browse to select the following template
<ORACLE_HOME>/Oracle_BI1/common/templates/applications/
oracle.bicomposer.slib _template_11.1.1.jar
When prompted to override the installed template, click Yes.
Continue clicking Next and change any settings if needed.
Continue clicking Next
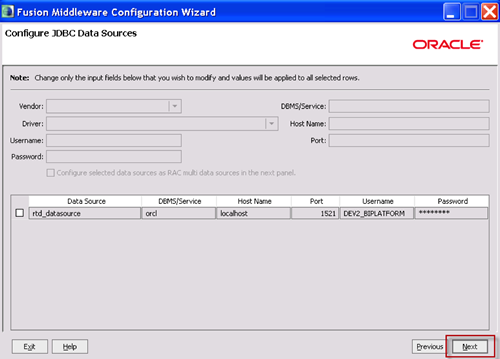
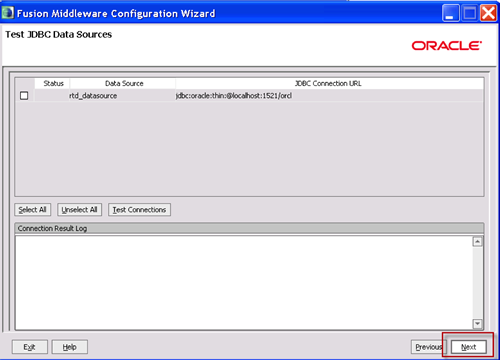
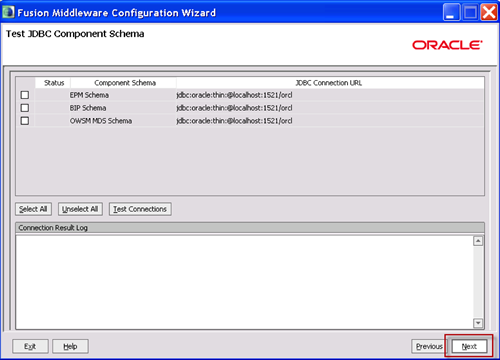
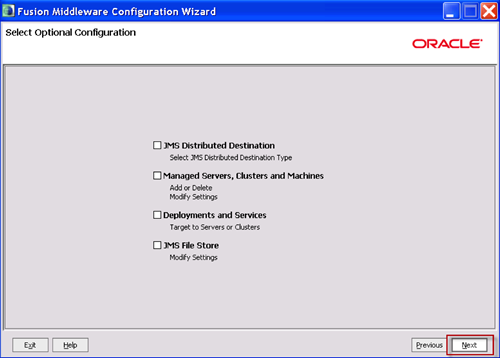
Click Extend, and then Done.
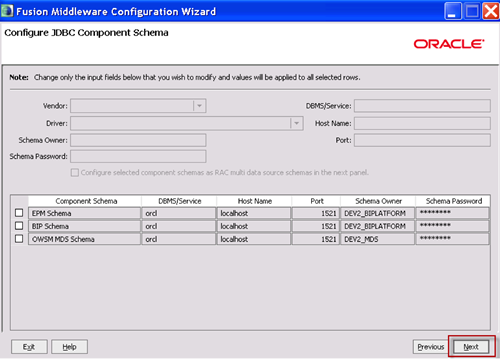
Start the Web Logic Server.
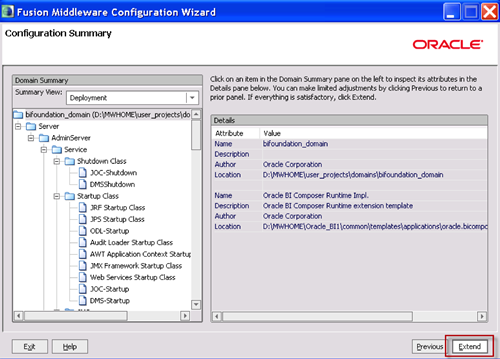
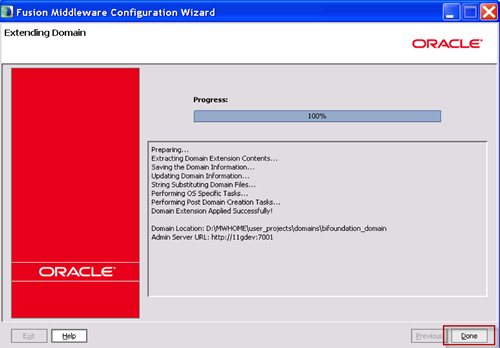
Step 3
Create the MDS data source to allow modifying connection post deployment. To do so:
- Launch Web Logic Server Administration Console.
- In the Change Center, click Lock & Edit.
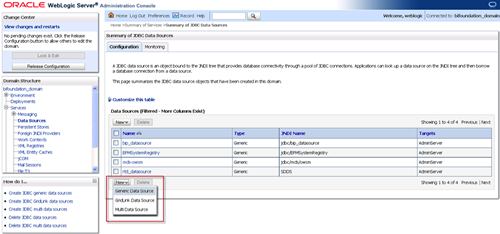
- In the Domain Structure pane, expand Services, and then click Data Sources. The Configuration tab of the Summary of JDBC Data Sources pane is displayed.
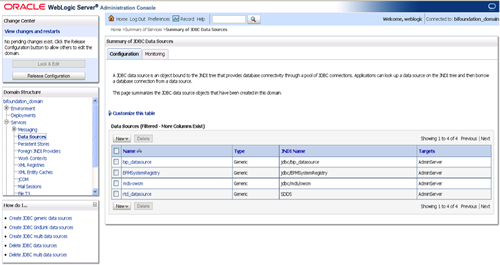
Click New, and then select Generic Data Source. The JDBC Data Source Properties page is displayed.
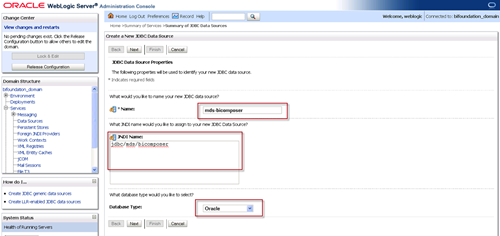
- In the Name field, enter mds-bicomposer.
- In the JNDI Name field, enter jdbc/mds/bicomposer.
- In the Database Type box, select Oracle.
Click Next.
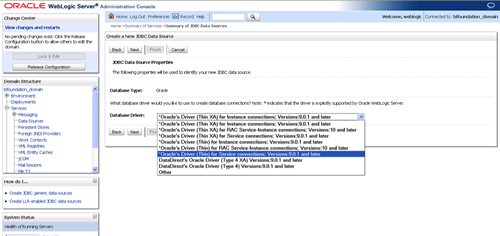
In the Database Driver field, select Oracle's Drive (Thin) for Service connections; Versions:9.0.1 and later.
Click Next.
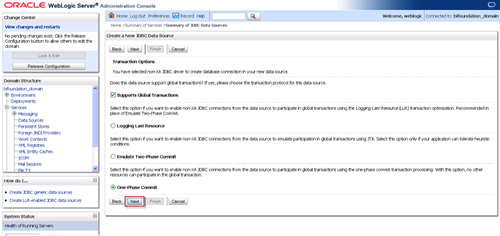
The Transactions Options page is displayed, Accept the default options and click Next.
The Connection Properties page is displayed.
Define the connection properties. Use the same properties as those from the mds-owsm data source).
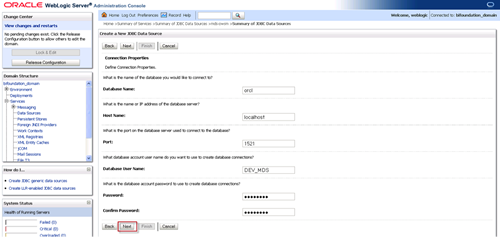
Click Next.
The Test Database Connection page is displayed.
Click Test Configuration to verify the connection.
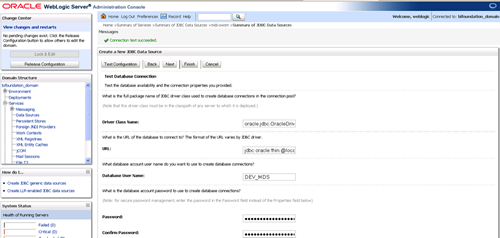
Click Next.
The Select Targets page is displayed.
Select the appropriate server targets for the domain.
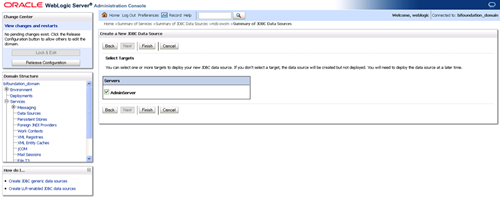
Click Finish.
In the Change Center, click Activate Changes.
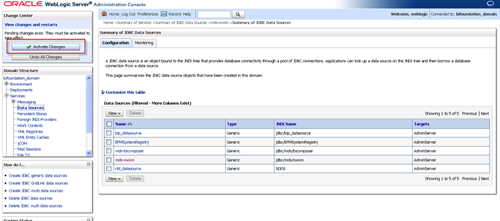
Step 4. Install the BI Composer application.
To do so:
- Launch Fusion Middleware Control.
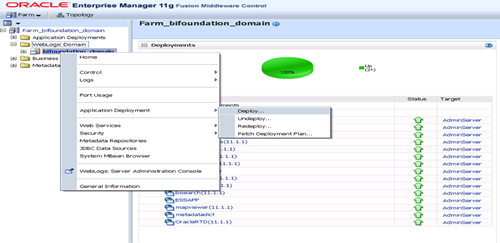
- Expand Weblogic Domain, right-click bifoundation_domain, select Application Deployment and then Deploy.
In the Select Archive page, use Browse to select the <ORACLE_HOME>/Oracle_BI1/modules/oracle.bi.presentation_11.1.1/bicomposer.ear file.
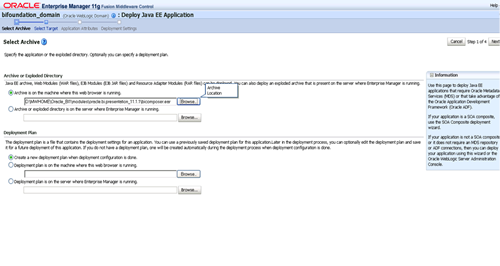 Click Next.
In the Select Target page, select the appropriate server targets for the domain.
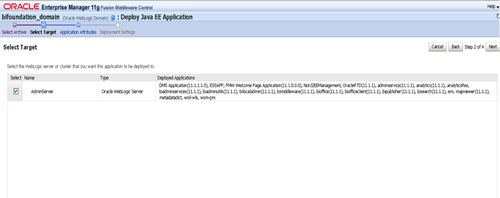
Click Next.
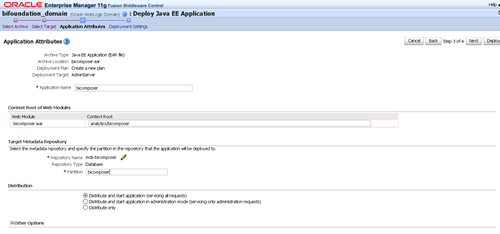
In the Application Attributes page, under Target Metadata Repository, click the pencil icon and select mds-bicomposer from the list
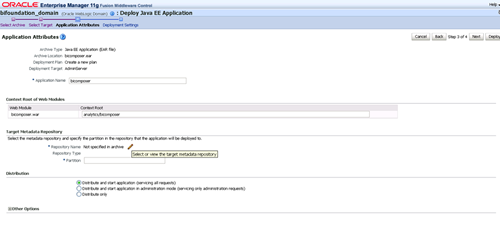
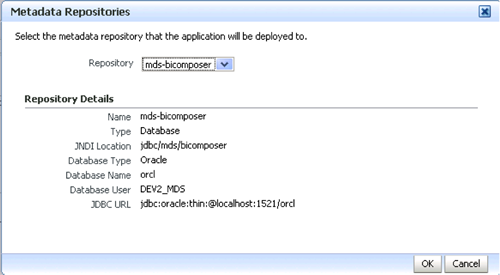
Enter bicomposer for Partition.
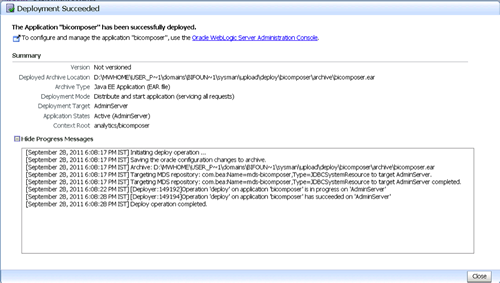
In the Deployment Wizard, Deployment Settings page, click Deploy.
Step 5. Modify the Business Intelligence Presentation Services (BIPS) connection.
To do so:
- Launch Fusion Middleware Control
- Expand Application Deployments, right-click bicomposer, and select System MBean Browser.
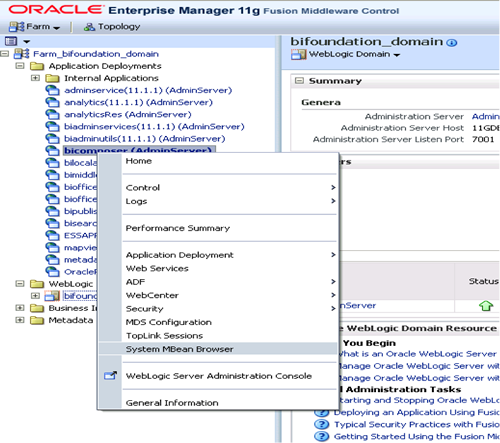
In System MBean Browser, expand oracle.adf.share.connections, expand Application:bicomposer, and then click bi-default.
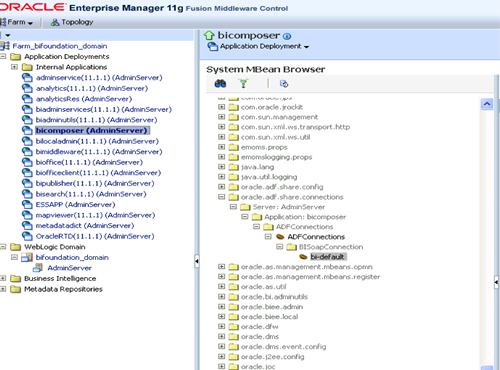
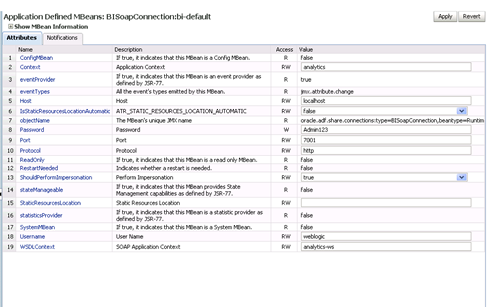
Change the attributes for the connection bi-default to use the installed Oracle BI EE attributes, for example, Host, Port, Username, Password, and click Apply.
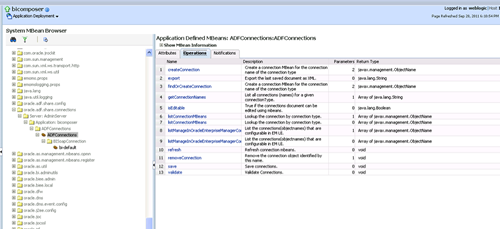
Click the tree node ADFConnections, click the Operations tab, click save, and click Invoke.
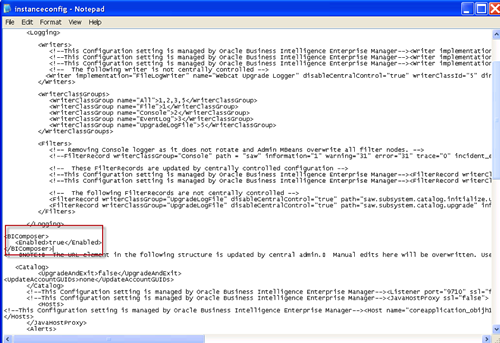
Step 6. Enable BI Composer in Oracle BI EE by manually adding the following Oracle Business Intelligence configuration setting within the <ServerInstance> element:
<BIComposer>
<Enabled>true</Enabled>
</BIComposer>
Restart Web Logic Services.
Step 7. Availability of BI Composer Oracle BI Enterprise Edition:
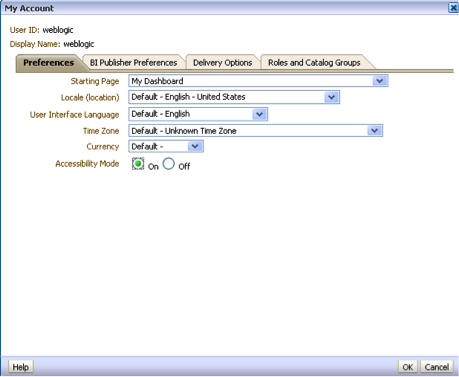
BI Composer is available only in accessibility mode. It is displayed in place of the "Analysis editor" when a user has turned on accessibility mode (by selecting Accessibility Mode On in the "My Account dialog: Preferences tab") and then the BI Composer is ready to use.
Sign out > Sign In > New > Analysis:
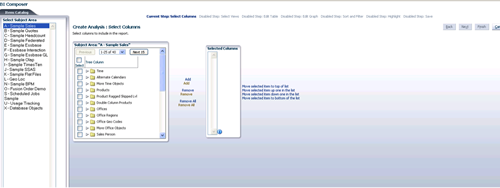
Create Report Using BI Composer Wizard.
